Growing Tea In
The Pacific Northwest
Greenhouse Mist Chambers
Authors: Madeline Zwergel, McKenzie Shelton, and Carol Miles
Affiliation: Washington State University
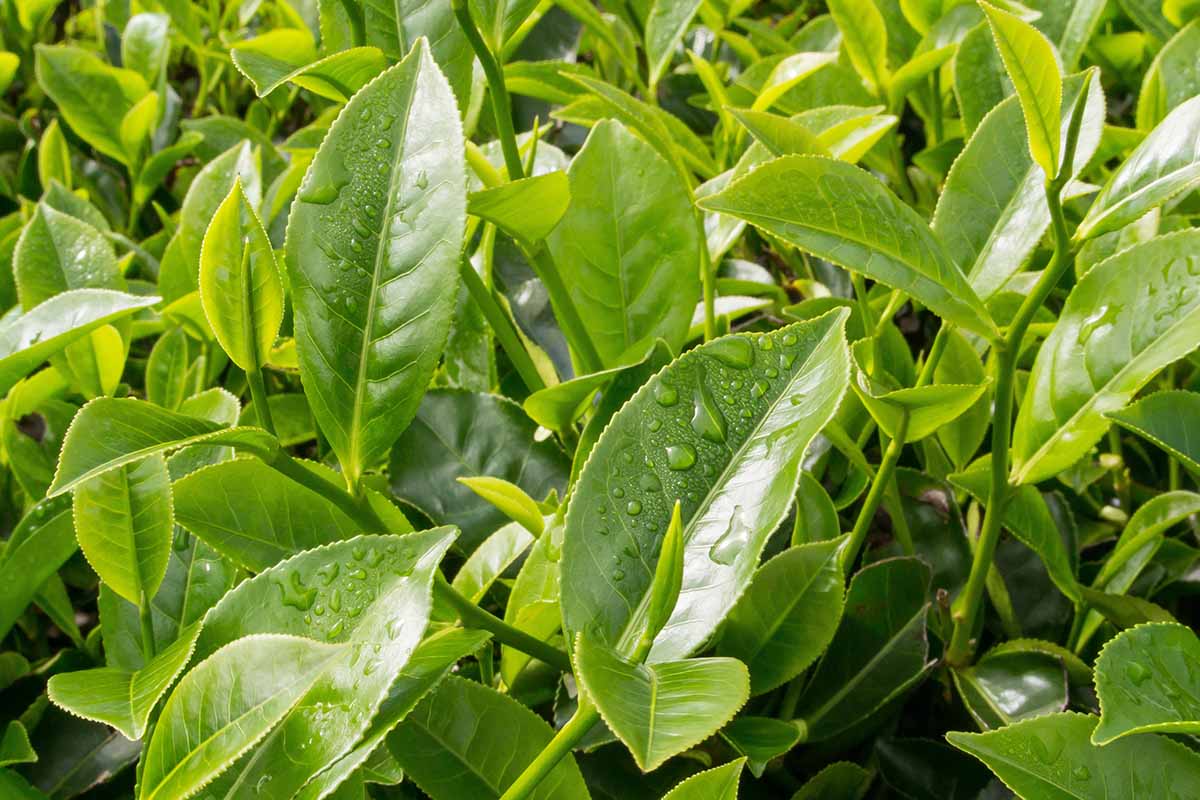
Tea (Camellia sinensis) can be grown in the Pacific Northwest. This guide provides information on construction of a mist chamber for propagation of tea plant cuttings in a greenhouse.
Mist Chamber Frame
Supplies
- Greenhouse bench, measure dimensions in feet (eg, dimensions used in
our calculations are 14 ft long × 5 ft wide) - PVC pipe, cut to dimensions of bench (¾ in. or 1 in. diameter pipes)
- PVC pipe fitting (select ¾ in. or 1 in. fittings, based on PVC pipe diameter)
Estimated Cost of Materials
| Unit | Quantity Req. | Est. Cost1 |
|---|---|---|
| PVC pipe, top (width, 5 ft) | 7 | $26 |
| PVC pipe, base/top (length, 3.5 ft) | 16 | $48 |
| PVC pipe, vertical supports (height, 3.5 ft) | 10 | $30 |
| PVC pipe fitting, 3-way tee | 6 | $5 |
| PVC pipe fitting, 3-way 90-degree | 8 | $20 |
| PVC pipe fitting, 4-way tee | 6 | $15 |
Building the Frame
- Clean greenhouse bench of any materials or dirt. Metal bench is preferred due to misting.
- Measure width and length of the bench. If the bench has a rim, measure the inner dimensions so the pipes fit inside the rim.
- Cut PVC pipe for the length of the bench. Divide the length of the bench by 4 and take into account the length of the fittings such that 4 pipes plus fittings fit the length of the bench. Cut 16 pipes; 8 will be used for the base of the chamber and 8 will be used for the top.
Example calculation
Length of bench: 14 ft → 14 ft ÷ 4 = 3.5 ft →
Quantity needed: 16 PVC pipes of 3.5 f
- Cut 7 PVC pipes for the width of the bench: 5 ft
- Cut 10 PVC pipes to the desired height. An example mist chamber height is 3.5 ft.
- Place 2 pipes along the width of the bench, one at each end. Place 4 pipes along the length of each side of the bench. Connect the pipes at each corner with a 90-degree pipe fitting. Connect the pipe lengths with the three-way pipe fittings.
- Attach the 10 vertical pipe supports to each pipe fitting. Attach 90-degree pipe fittings to each corner vertical pipe (4 total). Attach 4-way tee shape pipe fittings to the vertical pipes along the length of the bench (3 on each side, 6 total).
- Attach width-PVC pipes to each 90-degree fitting, at each end of the bench. Attach length-PVC pipes to each 4-way tee, along each length of the bench.
- Attach 3 width-PVC pipes to 4-way tees, across the top of mist chamber.
Misting Systems
Supplies
- Mist Tubing Kit with mist nozzles and adaptors, ¼ in.
tubing size, 6 mm brass nozzle outlets (eg, Mist Cooling
System, 82 ft (25 m) Mist Line + 30 Brass Mist Nozzles + Brass Adapter (¾ in.) for Patio Garden Greenhouse, model number TG2024J, Sunhe Yhk)
Minimum tubing length calculation (ft):
(Length of bench + 1) × 4
- Programmable mist timer (eg, Mist Timer II, times in seconds,
model number 549). - Greenhouse hose and irrigation source.
Estimated Cost of Materials
| Unit | Quantity Req. | Est. Cost1 |
|---|---|---|
| Mist tubing system with nozzles | Determined by length of bench | $30 |
| Mist timer | 1 per chamber | $70 |
Building the Misting System
- After constructing the chamber frame, install the mist system. Following the instructions of the mist kit, attach adapters and mist nozzles to tubing. Using more nozzles reduces the psi per nozzle and gives a courser mist. Using fewer nozzles results in a higher psi per nozzle and a finer mist. A finer mist is ideal for maintaining a humid environment in the mist chamber.
- Attach the mist tubing with zip ties to the corner vertical pipe closest to the greenhouse water source. Wrap tubing around the top width pipe once to hold it in place.
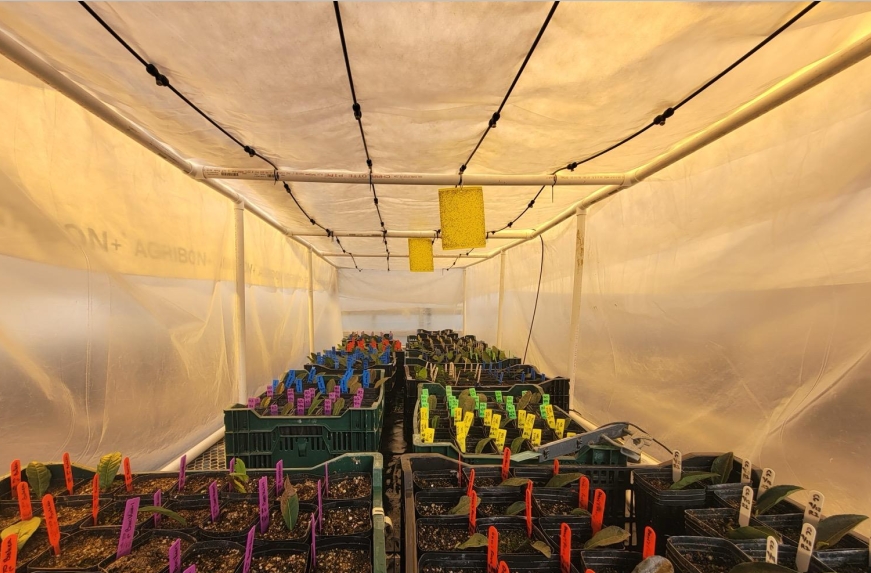
- Place the mist tubing along the length of the top of the mist chamber (Fig. 1), secure the tubing to each width pipe with a zip tie. Wrap the tubing around the end width pipe and run the tubing back along the length of the chamber. Repeat to create 4 rows of mist tubing evenly spaced along the length of the chamber: tubing should be about 6 in. inside the frame on each side, and each row of tubing should be about 1 1/3 ft apart. Cap the end of the mist tubing.
- Attach the mist tubing to a programmable mist timer. Attach timer to a greenhouse hose and attach greenhouse hose to a water source.
Covering the Mist Chamber
Supplies
- Clear greenhouse plastic, 6 mil
- Dimensions: Determined by size of mist chamber.
Example calculations
Width (ft): (Vertical height × 2) + (Bench width + 1)
Length (ft): (Vertical height × 2) + (Bench length + 1)
- White row cover, 4 layers (eg, Agribon® AG-50 row cover)
- Dimensions: Determined by the size of the mist chamber.
Example calculations
Width (ft): (Bench width + 1)
Length (ft): (Bench length + 1)
Estimated Cost of Materials
| Unit | Quantity Req. | Est. Cost1 |
|---|---|---|
| Clear greenhouse plastic (6 mil) | Determined by dimensions of bench | $45 |
| Agribon® AG-50 row cover | Determined by dimensions of bench | $33 |
Covering the Chamber
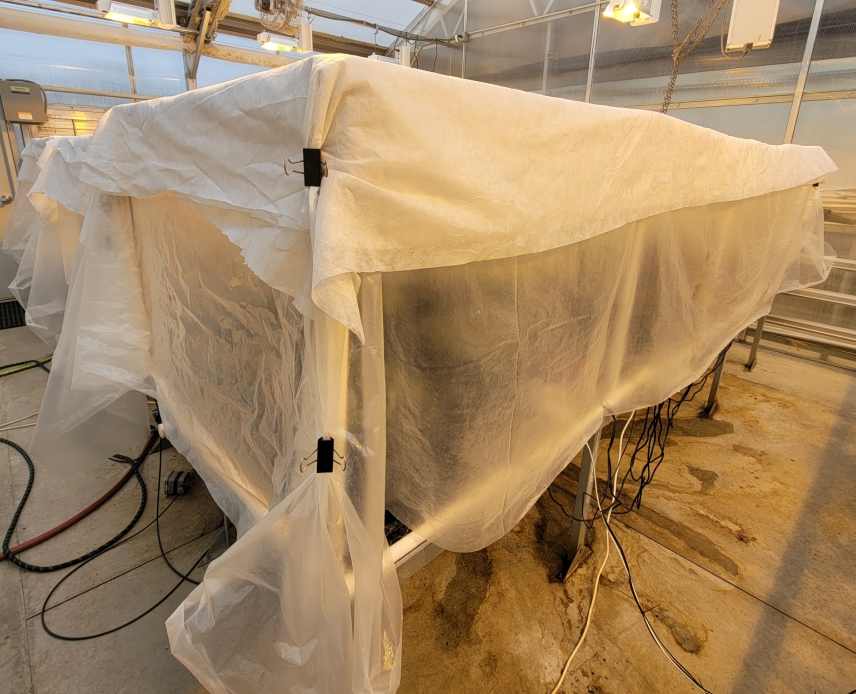
- Drape clear greenhouse plastic over entire mist chamber, allowing for about ½ ft of overhang on each side. Cut greenhouse plastic to the correct size.
- . Cover the top of mist chamber with white row cover in two layers, allowing for about ½ ft of overhang over the top on all sides.
- Use binder clips to secure the plastic and row cover to the four corner uprights (Fig. 2)
Electronics
Supplies
- Seedling heating mats (eg, iPower Seed Starter Mat, model number GLHTMTL, 48 in. × 20 in., 100 watts)
- Outdoor waterproof power strip, 8 outlets
| Unit | Quantity Req. | Est. Cost1 |
|---|---|---|
| Seedling heating mats | Determined by dimensions of bench | $35 |
| Waterproof power strip, 8 outlets | 1 per bench | $25 |
Setting up Electronics
- Place seedling heating mats on the greenhouse bench inside the mist chamber. Each crate of tea cuttings should sit on a seedling heating mat.
- Attach a waterproof power strip to the middle of one side of the bench so all seedling heating mats can be plugged in. Secure power strip to the side of bench with zip ties
Chamber and Greenhouse Conditions
- Maintain 50 – 80% shade in the mist chamber.
- Chamber misting: 30 seconds every 1 hour.
- Greenhouse temperature: 68 – 72 °F.
- Greenhouse lighting: 12 hours, or lights on during daylight hours.
Summary of Estimated Costs
| Material Category | Est. Cost1 |
|---|---|
| Construction | $144 |
| Irrigation | $100 |
| Coverings | $78 |
| Electronics | $60 |
| Miscellaneous2 | $40 |
| Estimated Total | $422 |
Other Considerations
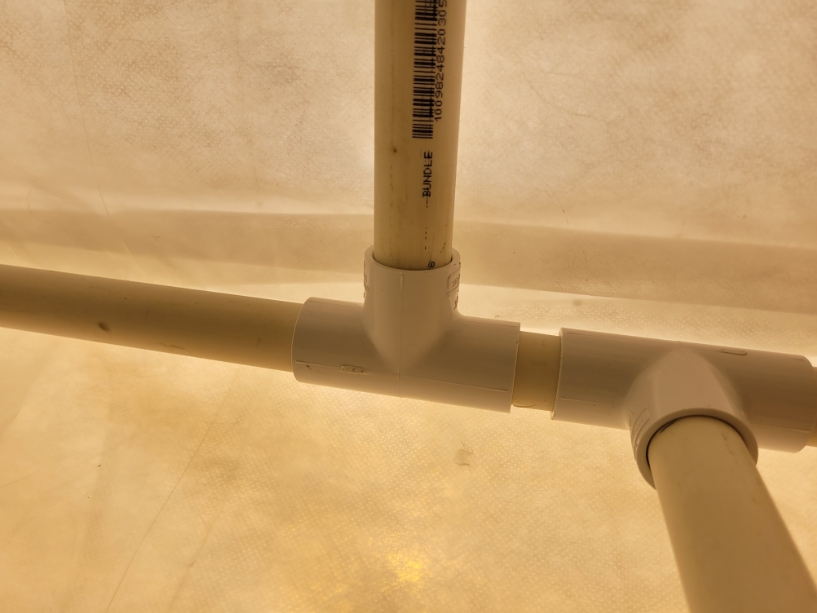
- The mist chamber can be made with materials already on hand. For example, if you have shorter lengths of PVC pipe, use T-shaped fittings to connect them (Fig. 3) to achieve the desired dimensions.
- Recycled greenhouse plastic and row cover can be used to cover the mist chamber to save money and use supplies already owned.
This work is supported by the Washington State University Emerging Research Initiative program, the National Institute of Food and Agriculture, U.S. Department of Agriculture Western Sustainable Agriculture Research and Education program (project number G123 -25-WA509), Hatch Project 7005372, Washington State Department of Agriculture Nursery Grant, and the Northwest Agriculture Research Foundation. Any opinions, findings, conclusions, or recommendations are those of the author(s) and do not necessarily reflect the view of the U.S. Department of Agriculture.
Product information is provided as examples in this publication and is not intended to endorse these products. Similar products that function the same can be used.