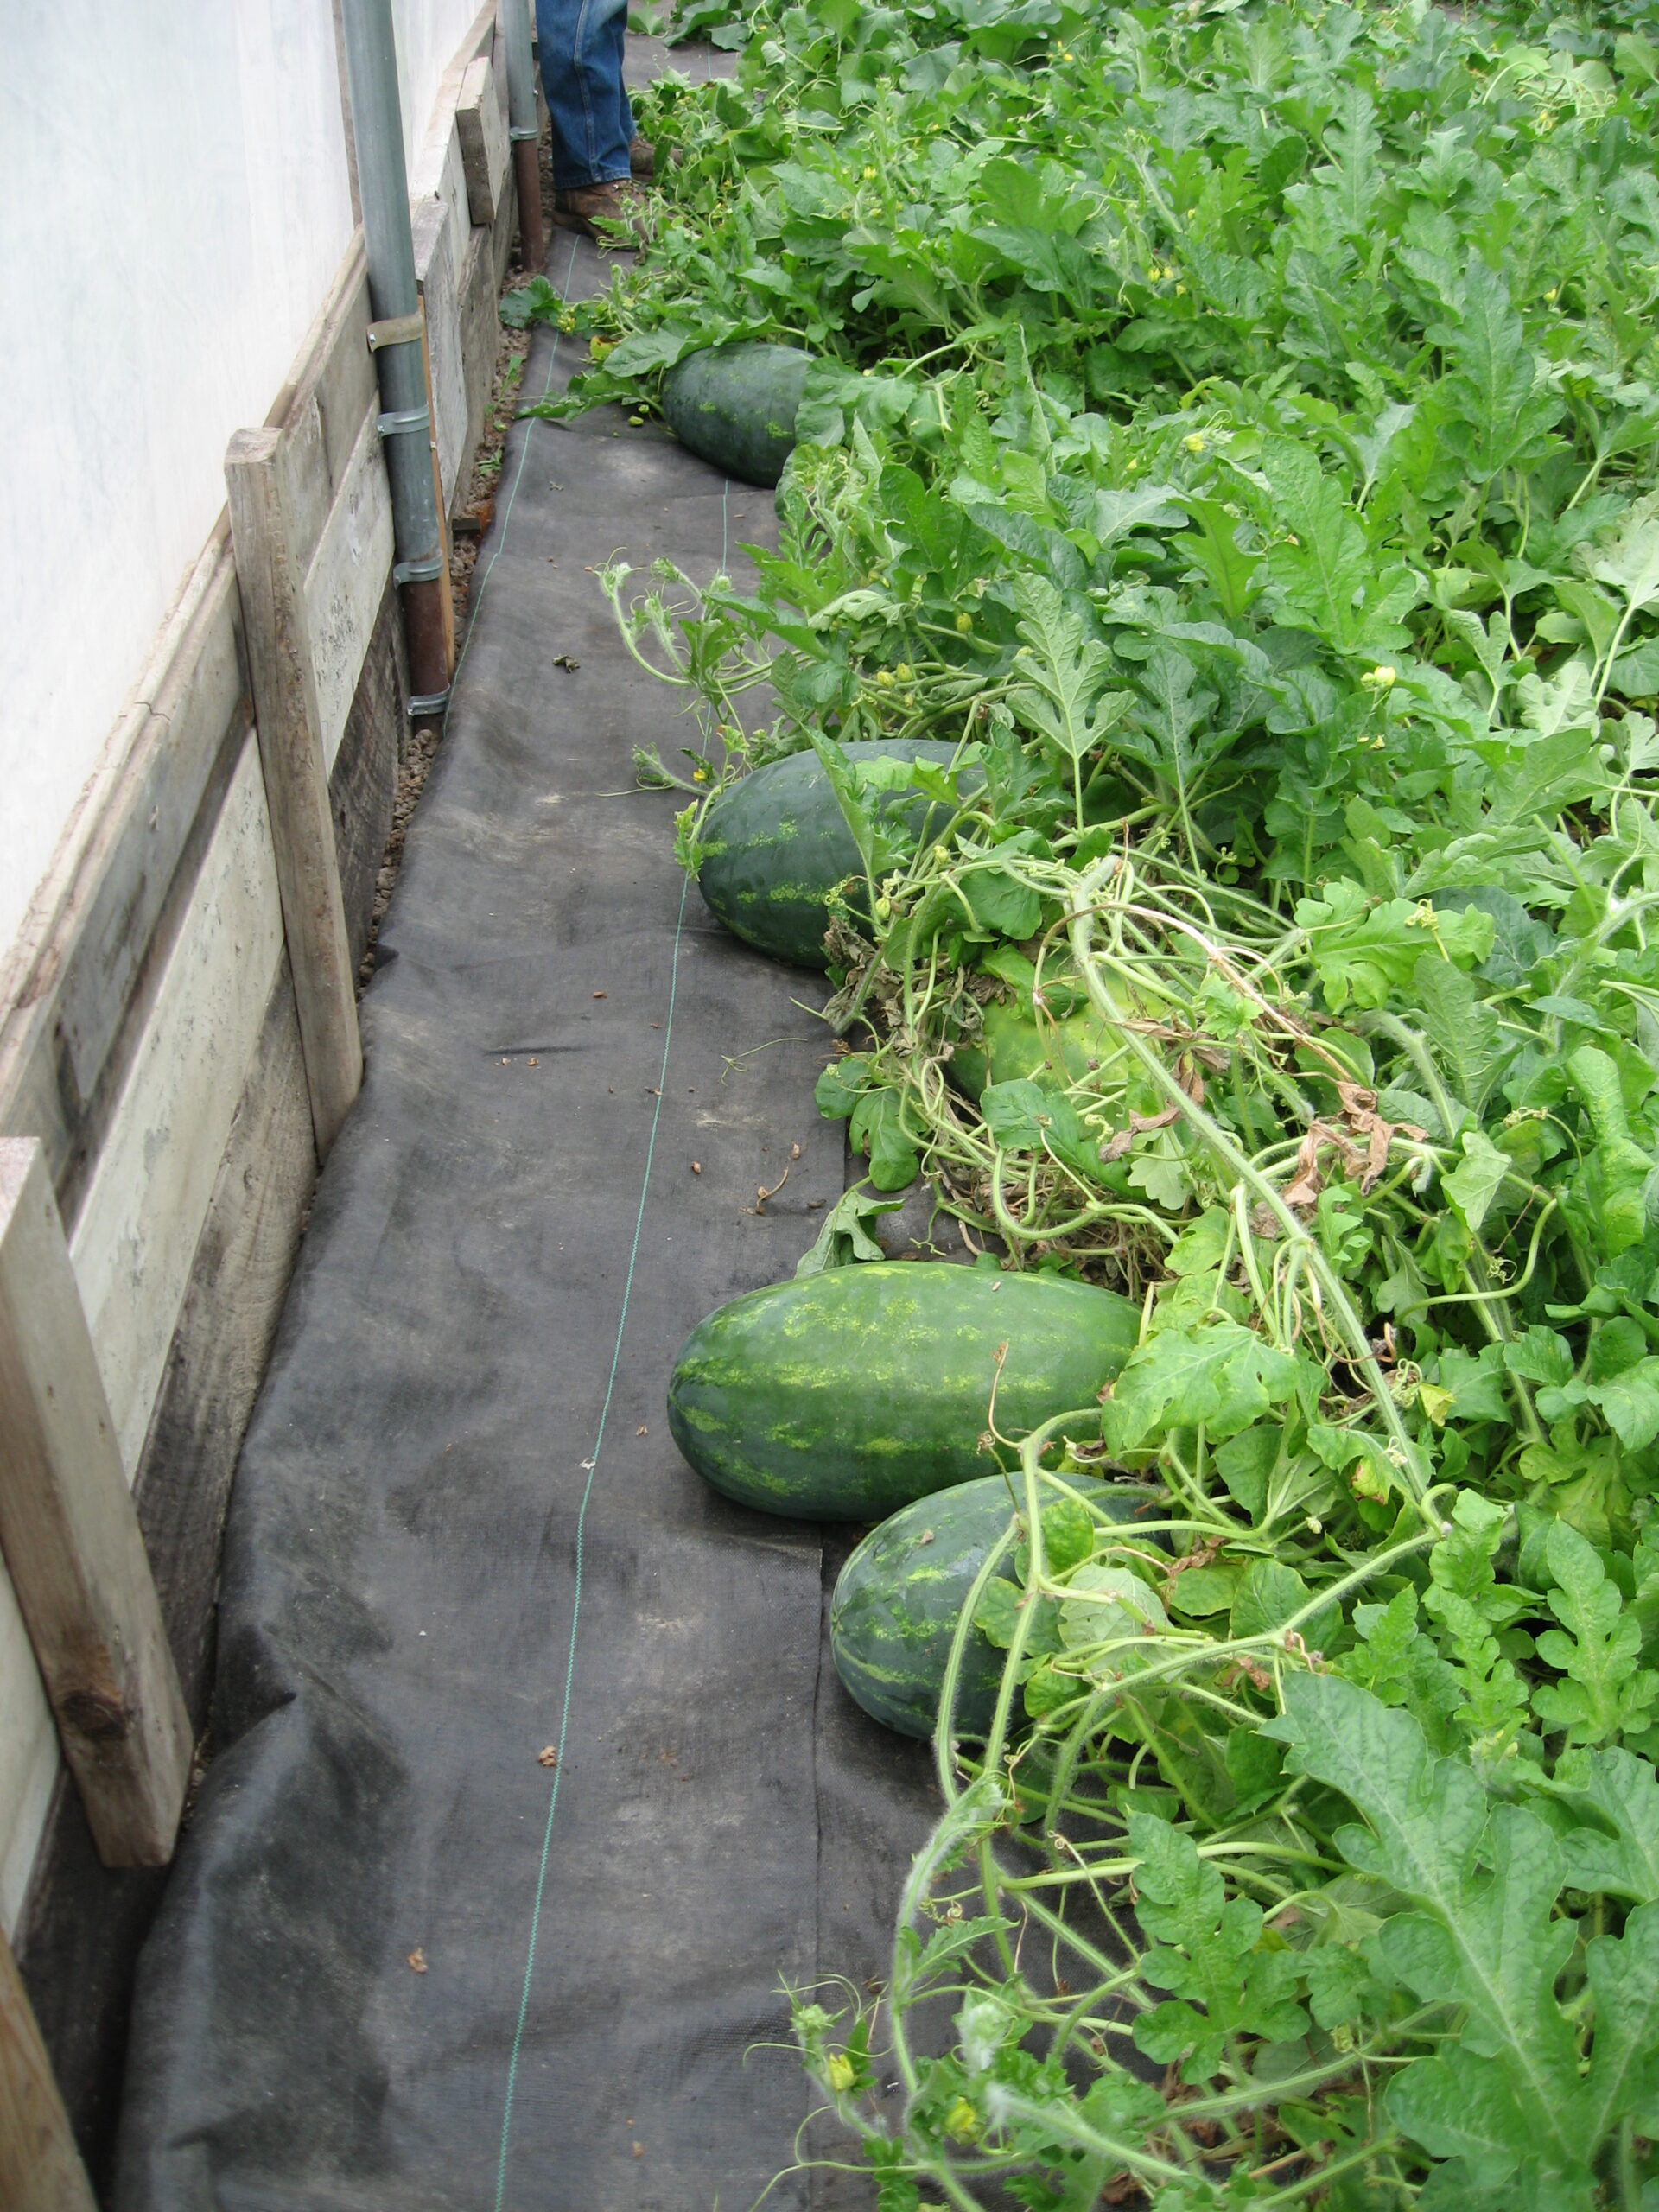
Watermelon Splice Grafting
Watermelon Splice Grafting with both Cotyledons Removed from the Rootstock
Authors: Pinki Devi, Carol Miles
Affiliation: Washington State University, Northwestern Washington Research and Extension Center, Mount Vernon
April 2021
Grafted watermelon (Citrullus lanatus) plants can be resistant to biotic and abiotic stresses. Recent advances in splice grafting of watermelon, where both cotyledons are removed from the rootstock prior to grafting, have increased the speed of grafting.
Preparation for Splice Grafting Method
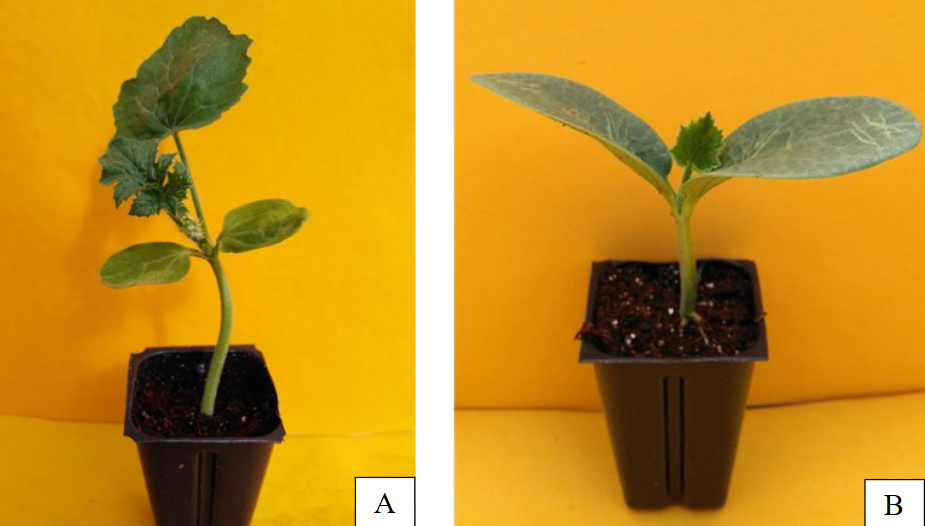
Watermelon plants are grafted when they are 14–21 days old with 2 fully emerged true leaves (Fig 1A). Rootstocks are grafted when they are 7-9 days old with 1 emerging true leaf (Fig. 1B). To achieve uniformity in both germination and growth, planting dates must be selected for both the scion and the rootstock so that seedlings have similar stem diameters (3.5–4.0 mm) at the time of grafting. Seed 20% more plants than necessary to have a greater selection when matching stem diameters. Use a clean area for grafting such as a work bench, with no direct sunlight. Water both rootstock and scion plants 12–24 hours before grafting. Do not water plants immediately before grafting, unless they are wilted. Grafting is commonly done in a greenhouse, but a shaded area is needed so that temperature is 21-23 °C (70-73 °F).
Splice Grafting
On the day of grafting, follow these steps to splice graft watermelon:
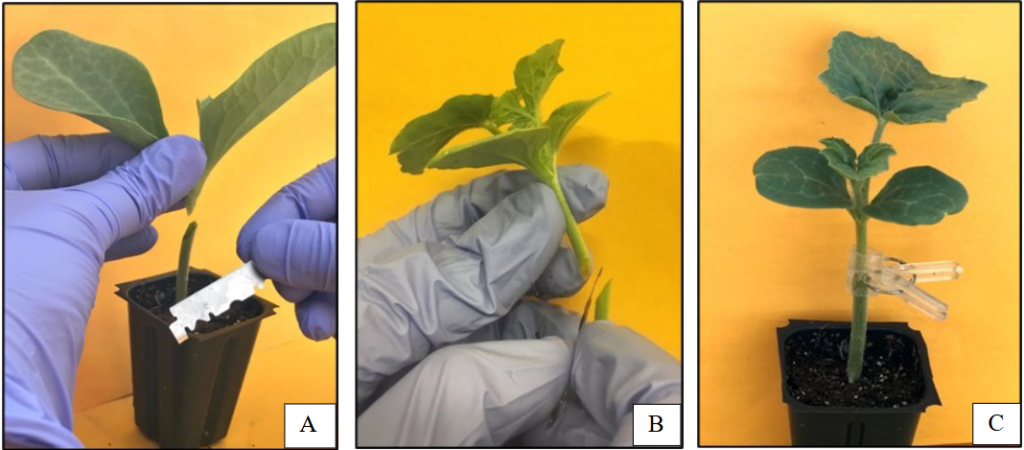
- Cut the rootstock at 60° angle, about 0.5 cm below the cotyledons (Fig. 2A).
- Cut the rootstock at 60° angle, about 2 cm below the cotyledons, to match stem diameters (Fig. 2B)
- Place the cut stem surface of the scion onto the rootstock and attach with a grafting clip (Fig. 2C)
Treatment Application Prior to Grafting
The success rate of splice-grafted watermelon has historically been low due to limited carbohydrate levels in the rootstock hypocotyl when both the cotyledons are removed. However, recent studies by Devi et al. (2020) found that the survival of splice-grafted watermelon transplants increased when sucrose in combination with commercially available anti-transpirant solution are applied as a drench to rootstock seedlings before grafting.
Sucrose
- Product such as IB37160 Sucrose; IBI Scientific, Peosta, IA.
- Dissolve 2% weight by volume in water:
- Place 100 g in 5000 mL, which is enough for all three applications for 100 plants.
- Split into three applications and apply every other day starting 6 d before grafting:
- Apply 20 mL per seedling in the first and second applications, and 10 mL in the third application (2 d before grafting).
Antitranspirant
- Root-Drench; Zorro Technology Inc., Clackamas, OR.
- Product must be labeled for vegetable transplants.
- Dissolve 2% volume by volume in water:
- Place 40 mL in 2000 mL, enough for application to 100 plants.
- Apply at 20 mL per seedling in combination with the third application of sucrose.
Water seedlings following common greenhouse practices on days when treatments are not applied.
Healing Chamber Regime
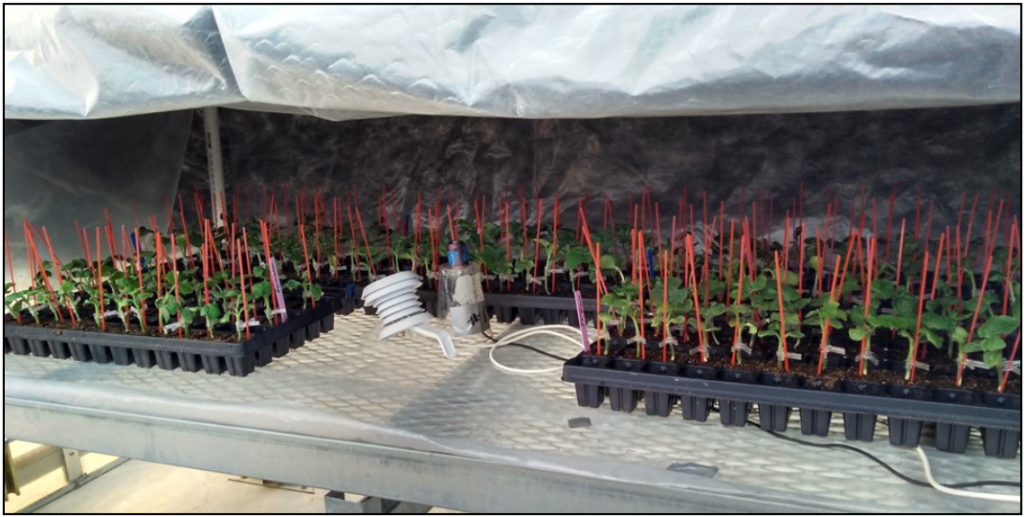
Following grafting, it is critical to follow a successful graft healing regime with controlled humidity and temperature, especially during the first 48-72 hours of the healing period. The following healing schedule for splice-grafted watermelon seedlings is based on the greenhouse grafting environment at Washington State University Northwestern Washington Research and Extension Center in Mount Vernon (Devi et al. 2020), where the average greenhouse temperature is 21-26 °C, and the relative humidity is 45%-60%. Immediately after grafting, place grafted plants in a pre-misted humidity chamber covered with clear plastic and a layer of black polyethylene woven fabric (Fig 3). Do not directly water grafted watermelon plants, instead add a thin film of water to the chamber floor if more moisture is needed. In the following healing schedule, Day 1 is the day of grafting, and all chamber openings are during the day.
- Day 1. Close plastic of healing chamber; cover chamber with black fabric.
- Day 2. Keep chamber closed and covered.
- Day 3. Open the chamber for 5 min and reclose the chamber and recover with black fabric.
- Day 4. Open chamber for 15 min, wet floor of chamber if needed, reclose chamber and fold the black fabric half-way up the front side of the chamber.
- Day 5. Open chamber 30-45 min, wet floor of chamber if needed, reclose chamber and fold the black fabric from all the sides of the chamber such that only the top remains covered with the black fabric.
- Day 6. Open chamber for 1.5 h, wet floor of chamber if needed, reclose the chamber, and keep the black fabric on the top of the chamber.
- Day 7. Open chamber for 4 h, wet floor of chamber if needed, reclose the chamber, and keep the black fabric on the top of the chamber.
- Days 9-10. Leave the chamber open day and night, wet floor of chamber if needed, mist the grafted plants, and keep the black fabric on the top of the chamber.
- Day 11. Remove the black fabric entirely, leave the chamber open, wet floor of chamber if needed, and mist the grafted plants.
- Day 12. Remove the grafted plants from the chamber, place on the greenhouse bench, and water them slowly.
The grafting environment may be different depending on location (higher or lower temperature and humidity). Adjust the exposure times for grafted plants as needed to slowly acclimatize the grafted plants without causing permanent wilting, which will lead to plant death.
Acclimatize Grafted Plants Before Transplanting
After removing plants from the healing chamber, allow them to rest in the greenhouse for 5–10 days. Next, move plants outside for 3–5 days, so they can harden off before transplanting. Adjust this schedule as needed if plants appear stressed when they are introduced into each new environment.
Transplanting into the Field
When transplanting, make sure the graft union remains above the soil line.
Reference
Devi P, Lukas S, Miles C. 2020. Fruit maturity and quality of splice-grafted and one-cotyledon grafted watermelon. HortScience 55(7): 1090-1098. https://doi.org/10.21273/HORTSCI15045-20.