Research Protocol
Sweetpotato: Acclimatization of Tissue Culture Plants
Authors: Srijana Shrestha, Jessica Weaver, Carol Miles
Affiliation: Washington State University Northwestern Washington Research and Extension Center
https://vegetables.wsu.edu/sweetpotato/
November 2025
Introduction
Sweetpotato production is limited in northern regions due to the perceived barriers of a short growing season and relatively cool summer temperatures. Yet recent studies have shown sweetpotatoes grown with plastic mulch in northern regions produced greater yield than the national average (11 tons/acre) due to the longer photoperiod during the growing season. Thus, in areas such as Mount Vernon, WA where day length is 16 h on average in June and July, rapid growth during establishment of healthy transplants likely contributes to higher yields. In a preliminary study at Northwestern Washington Research and Extension Center, Mount Vernon, WA, the yield of some sweetpotato accessions ranged from 14-26 tons/acre in 2020. The keys to successful production are suitable cultivars, healthy slips, planting into warm soil, appropriate plant spacing, and maintaining warm soil throughout the growing season.
Hardening off tissue culture plants
Sweetpotatoes are propagated vegetatively on a large commercial scale by slips or vine-cuttings. However, disease-causing pathogens and pests can be easily transferred from one generation to the next by vegetative propagation. Moreover, sweetpotatoes are greatly susceptible to mutations that pass through generations. When the same genetic stock is used for several years, off-type planting materials can be propagated and cause reduction in yield. Therefore, it is advised to replace the seed stock with new certified disease-free stock for slip production every three years. Tissue culture plants ensure disease-free planting materials but require greater attention to prepare for transplanting to the bed. Plant tissue culture is carried out under sterile and controlled conditions of light, temperature, and humidity. Thus, a transitional period of growth and acclimatization is required before transplanting.
Supplies
- 70% ethanol — to sanitize surfaces, tools, and hands
- Sterlized latex gloves — to prevent contamination
- 4-inch pots — to hold plants
- Potting media — to cover plant roots
- Forceps — to remove plants from tissue culture tubes
- Fungicide — to avoid fungal infection
- Humidity box — to maintain optimal growing conditions
Experimental set up
Before planting tissues culture plants in the field, they must be grown in a greenhouse and acclimate to the outdoor environment in a hoop house.
Steps to acclimatize tissue culture plants
- Receive the packing box in a clean and disinfected area to reduce the possibility of contamination. Wipe the counter surface with 70% ethanol where the box will be placed and also wipe the outside of the box before opening.
- Remove the culture tubes from the packing box while wearing sterile latex gloves.
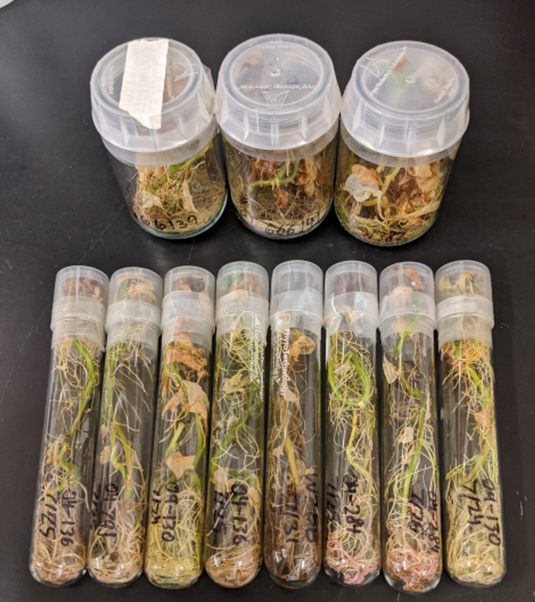
- Place the tubes at room temperature 22-24 °C with 1000 lux illumination to allow the plants to recover from potential detrimental effects of darkness and transportation during shipping (Figure 1).
- Autoclave commercial potting media and sterilize new 4-inch pots (submerge in 10% bleach solution, rinse with tap water). Place potting media in pots and place in the greenhouse.
- After 2-3 days, open the lids of the tubes gradually to equate the relative humidity (RH) with the ambient environment: open lids of the tubes halfway for 2 hours and then fully open for 1 hour. Move plants to the greenhouse.
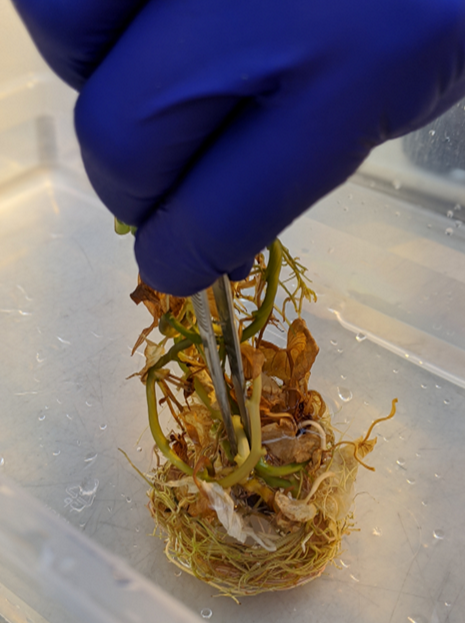
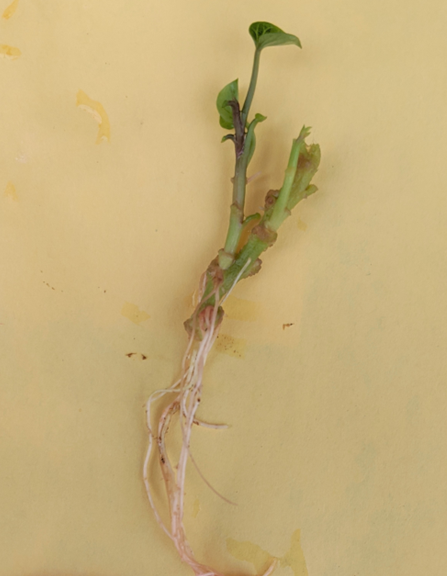
- In the greenhouse, remove the tissue culture plants from the culture tubes and gelling agent by gently pulling them out using forceps (Figure 2). Dip plants in deionized water to remove any traces of solidified agar media (Figure 3). Wear latex gloves disinfected with 70% ethanol to avoid potential contamination of the plants.
- Treat the plants with liquid fungicide(s) (e.g. 2 dithane M-45) by lightly dipping the root base for 2-4 minutes to avoid pathogenic infection.
- Insert each plant, holding by the stem, into a pre-formed hole in the potting media, and press potting media lightly around the base for the plant to hold firm and upright.
- Place pots inside a humidity box with 25-27 °C and 80-85% RH in the greenhouse (Figure 4). To avoid direct sunlight, cover the humidity box with shaded cloth to maintain 50-70% light. Mist plants and inside of the box before closing the box.
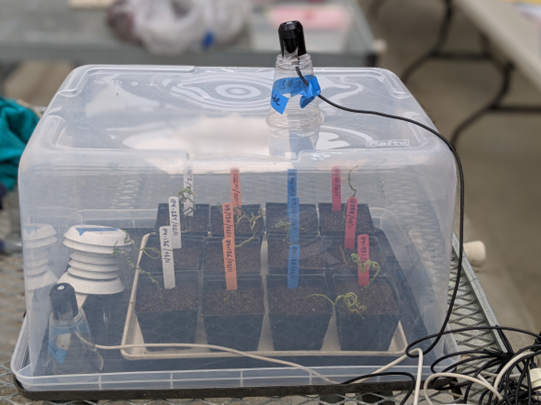
- Gradually open the humidity box by first removing a quarter of the cover after 2-3 days, half on day 4, three-quarter on day 6, and fully uncover on day 8. Monitor the plants daily in the box and mist the plants if needed, but do not water directly.
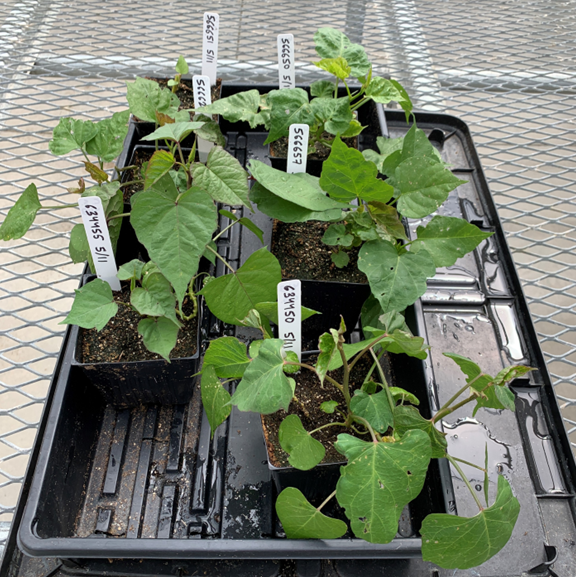
- Place plants on a greenhouse bench and water lightly (Figure 5).
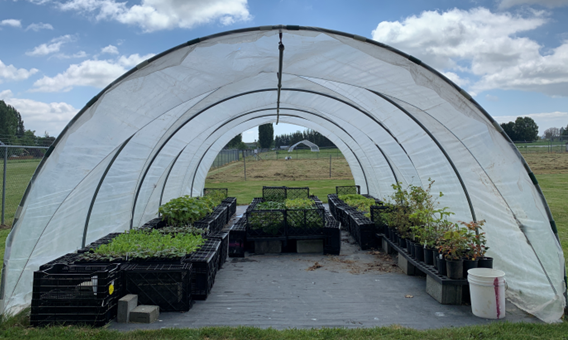
- After 3-4 days, place the plants in an open ended hardening-off tunnel for about 1 week (Figure 6).
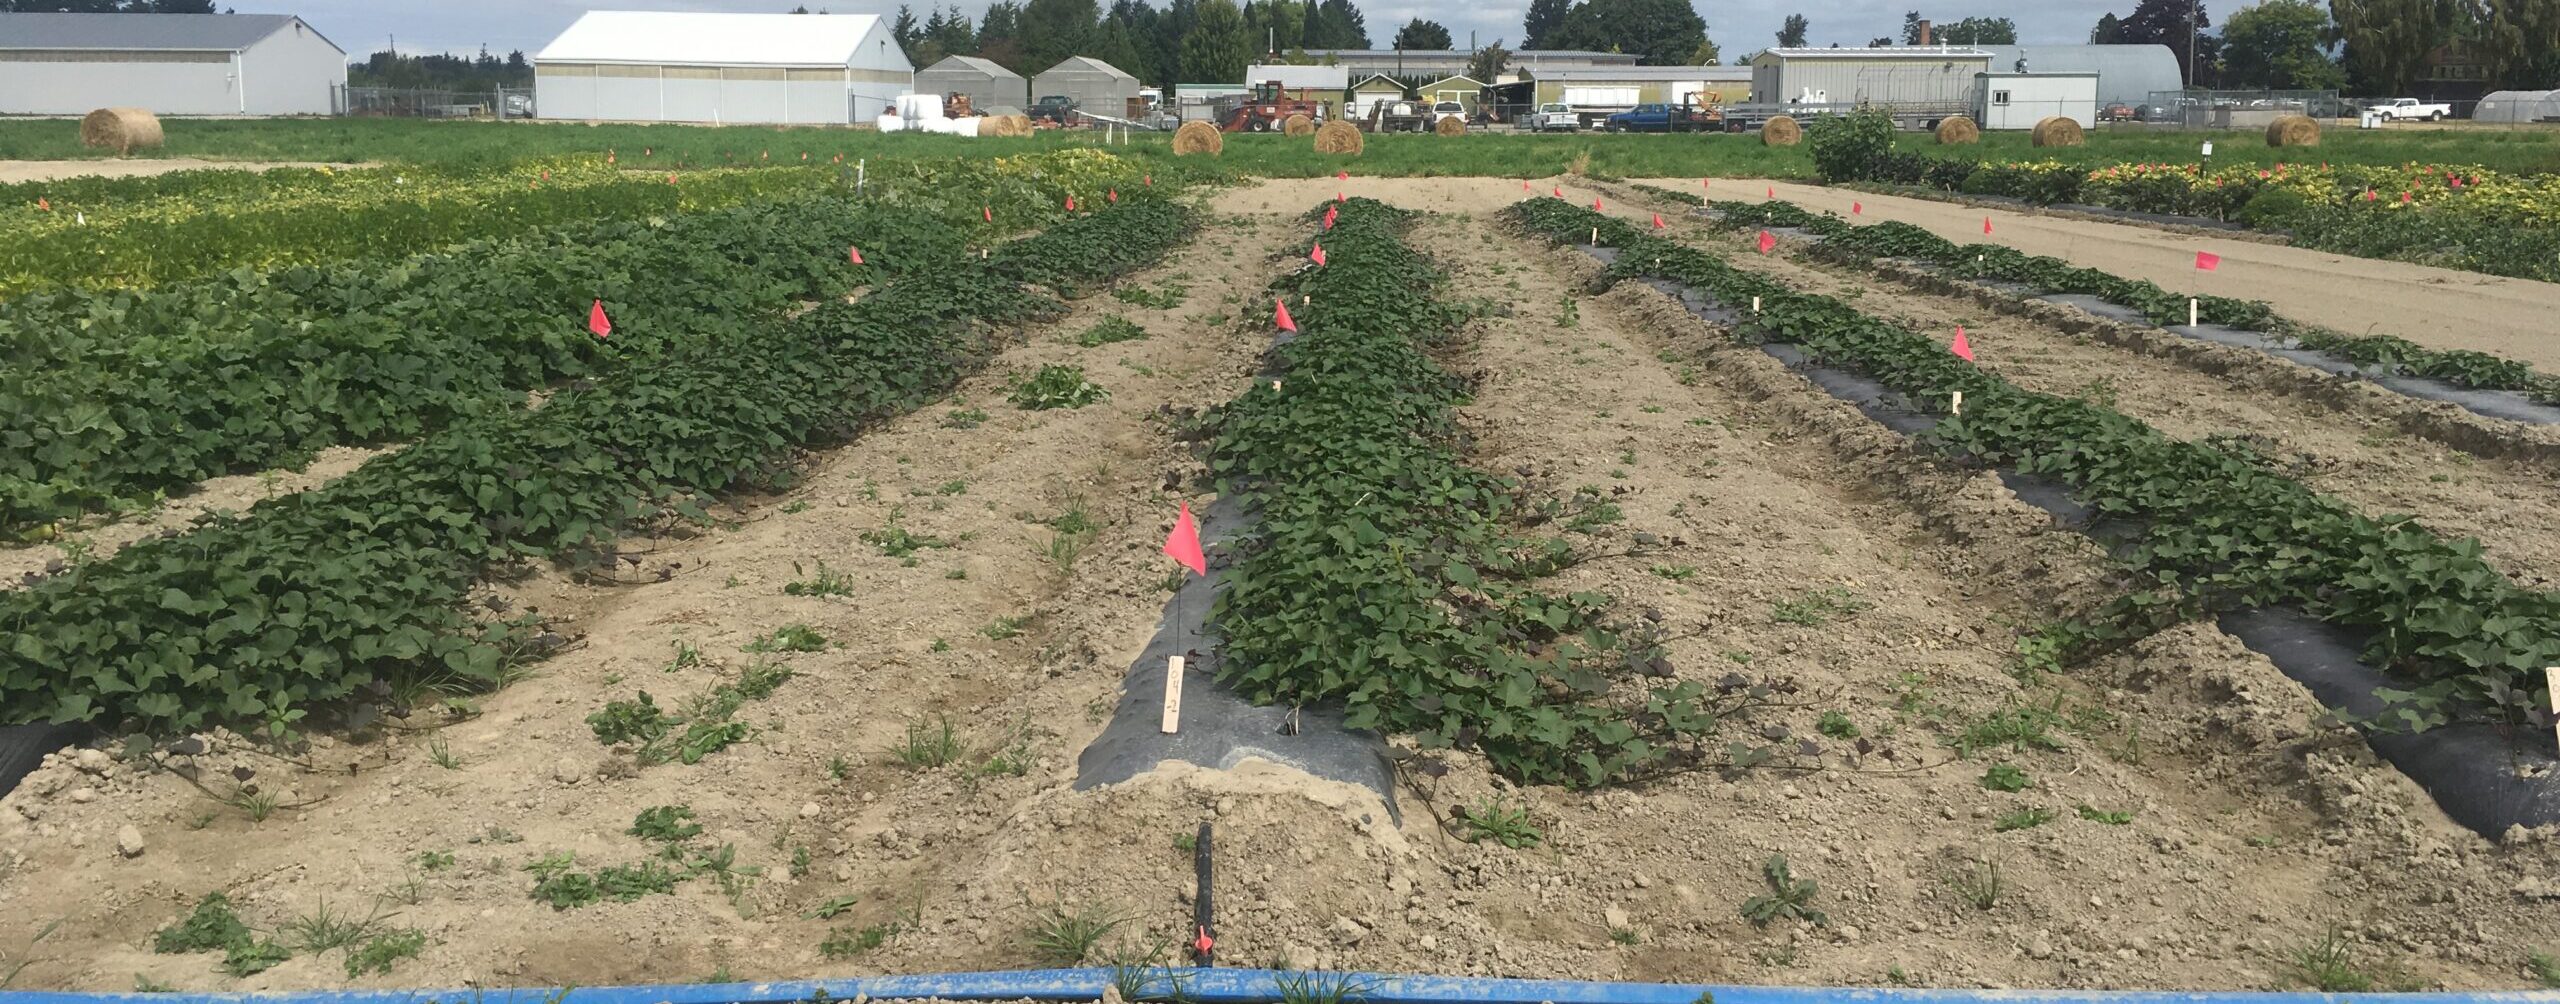
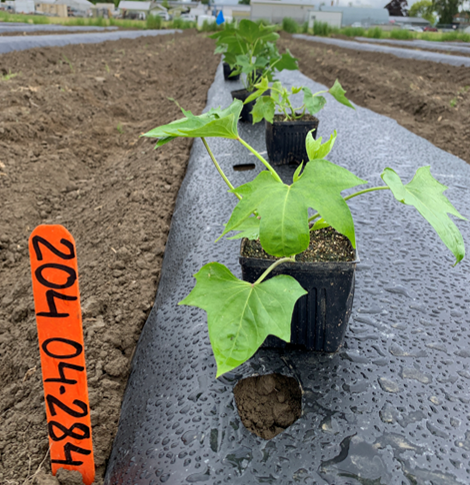
- Transplant the plants to the bed (Figure 7).

The information in this publication is based upon work that is supported by the U.S. Department of Agriculture, National Institute of Food and Agriculture Hatch Project WNP0010 Accession 7005372 and under award number GW24-013 through the Western Sustainable Agriculture Research and Education Program under project number G123-25-WA509. Any opinions, findings, conclusions, or recommendations expressed in this publication are those of the author(s) and are not meant to endorse any businesses or detract from any not listed.